Score Zones, Quotas & How Runs End
White zones cut the ball's score by 50% — buy zone-upgrade tickets the moment they appear. The Sep 29 hotfix replaced one White zone with a neutral Yellow one, but the system is explicitly still an experiment.
Most runs do not die because your board was weak — they die at the bottom row. The score zones decide whether your carefully built combo survives contact with the quota. Here is how the whole system works, including the changes from the first hotfix.
The two number systems
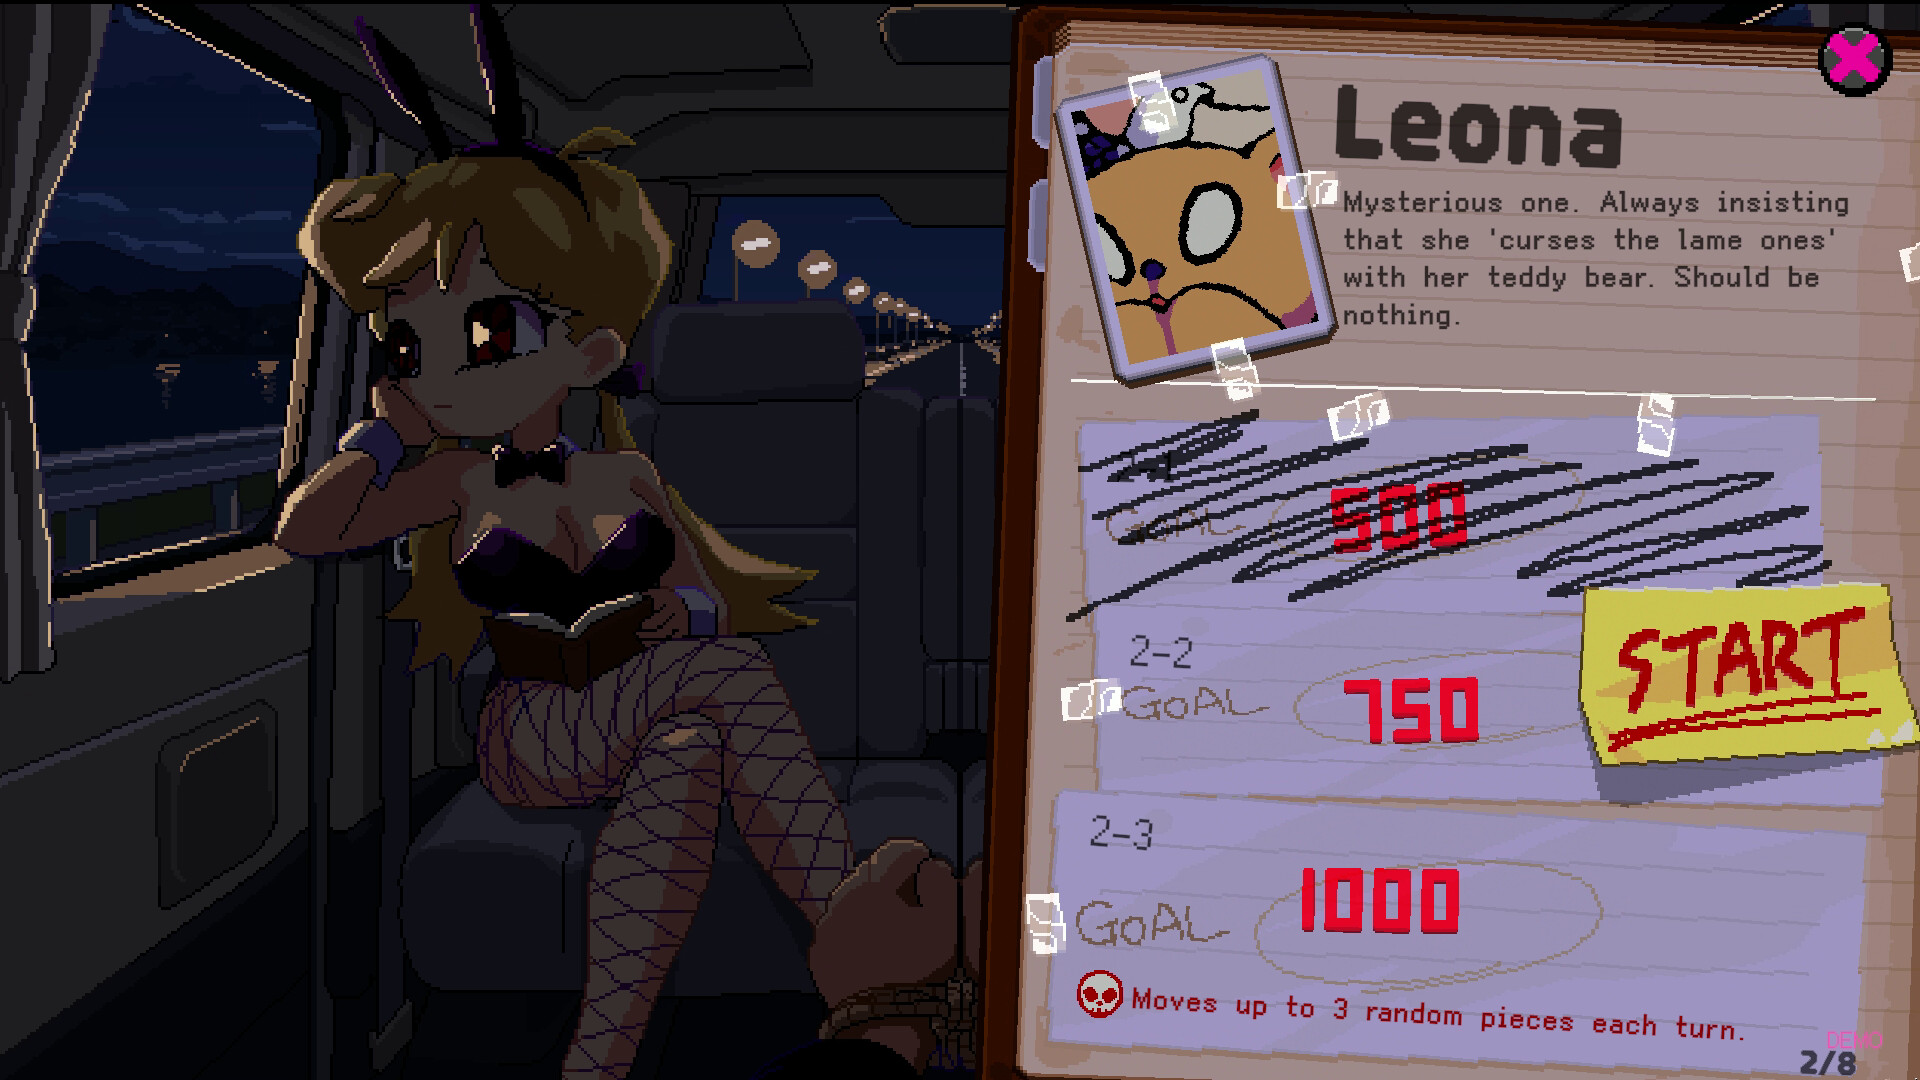
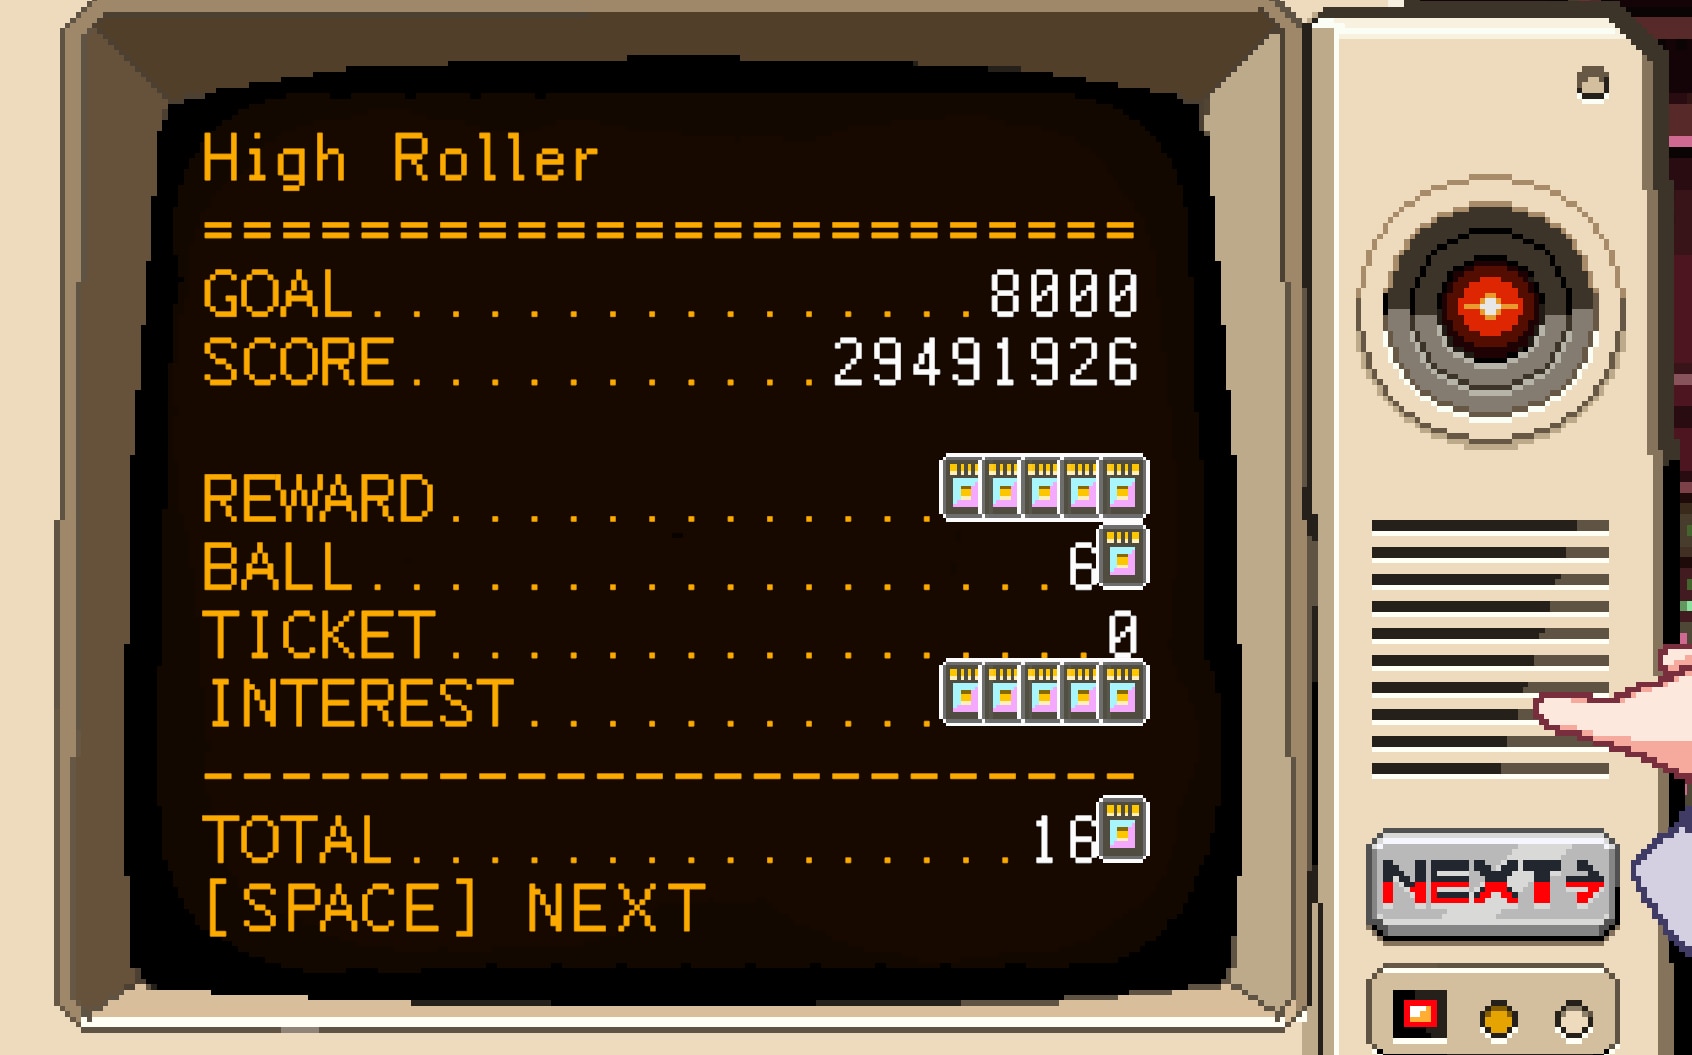
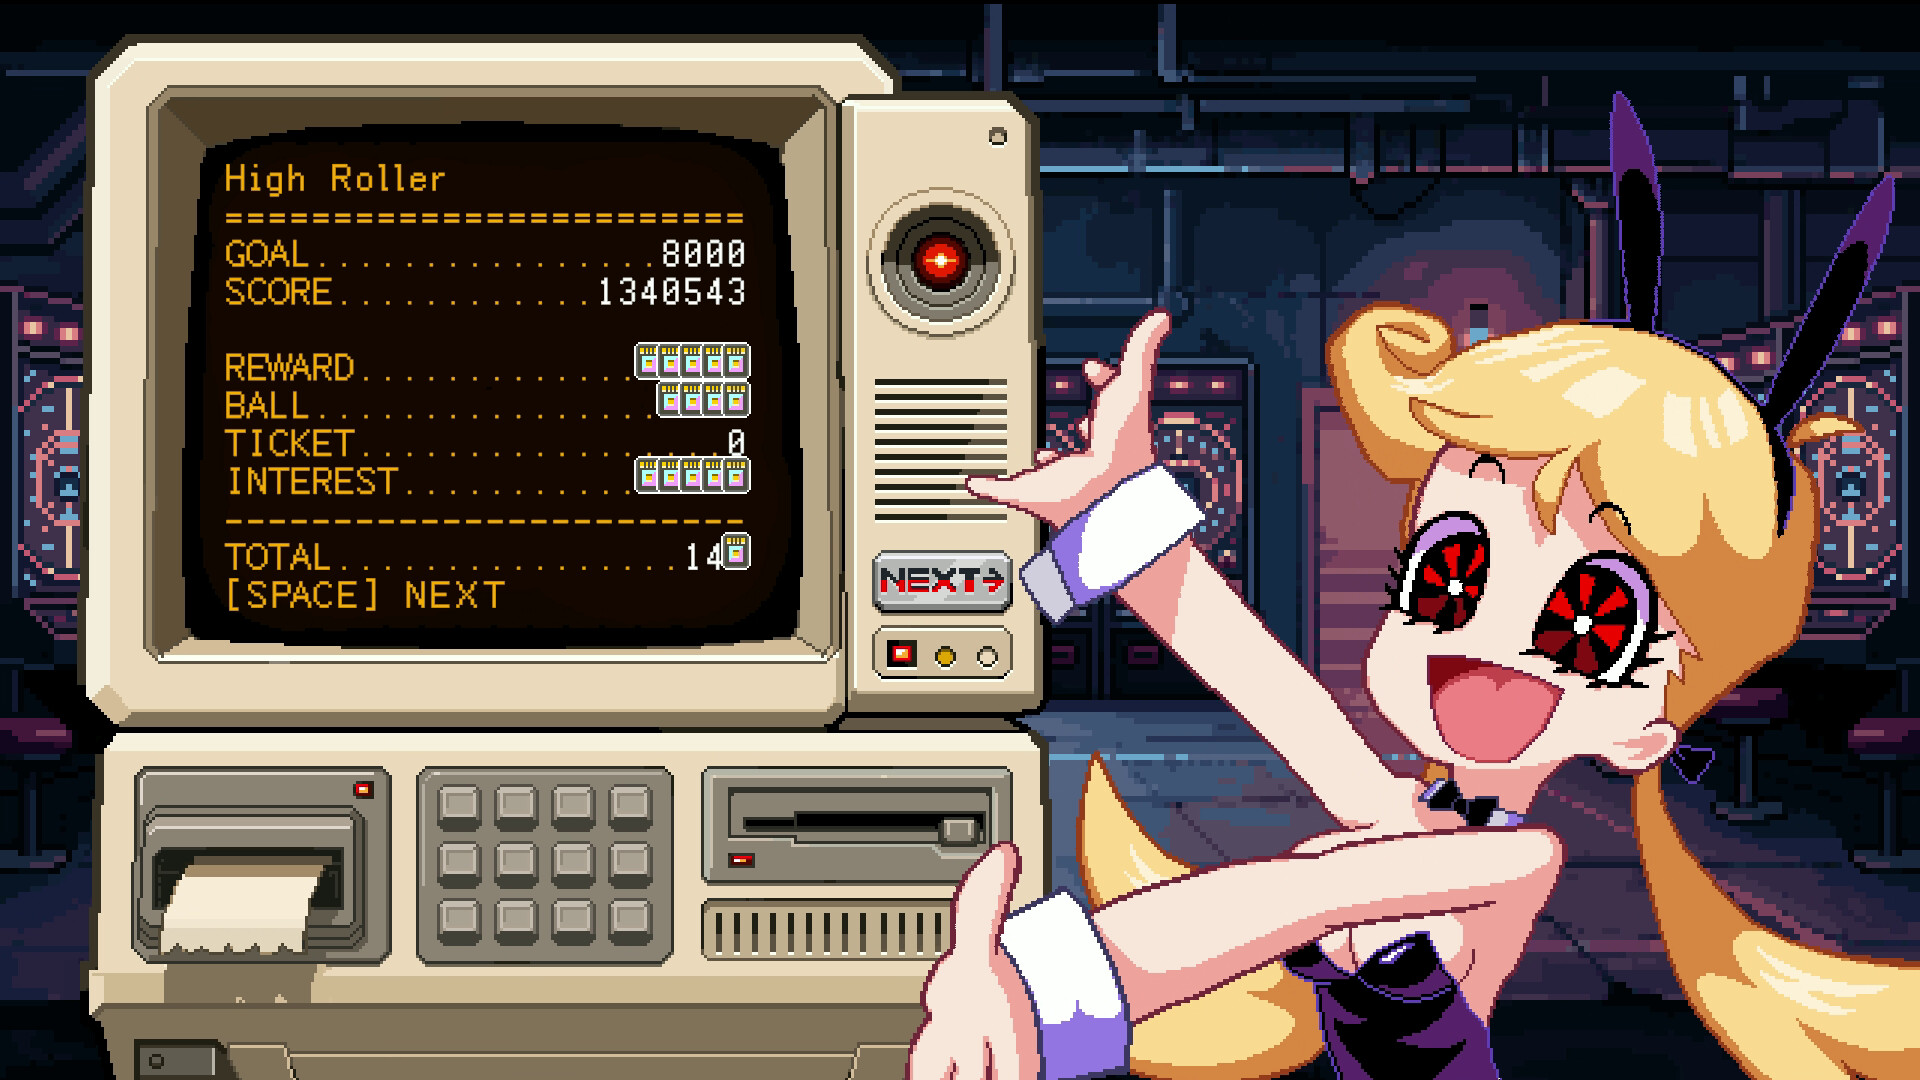
The quota (GOAL). Every stage shows a GOAL before you play. Beat it and you move on; miss it and the run ends — in the fiction, you literally get executed. Early goals are small (the intro cards show 500 / 750 / 1000), but High Roller rounds escalate sharply (one settlement screenshot shows GOAL 8,000).
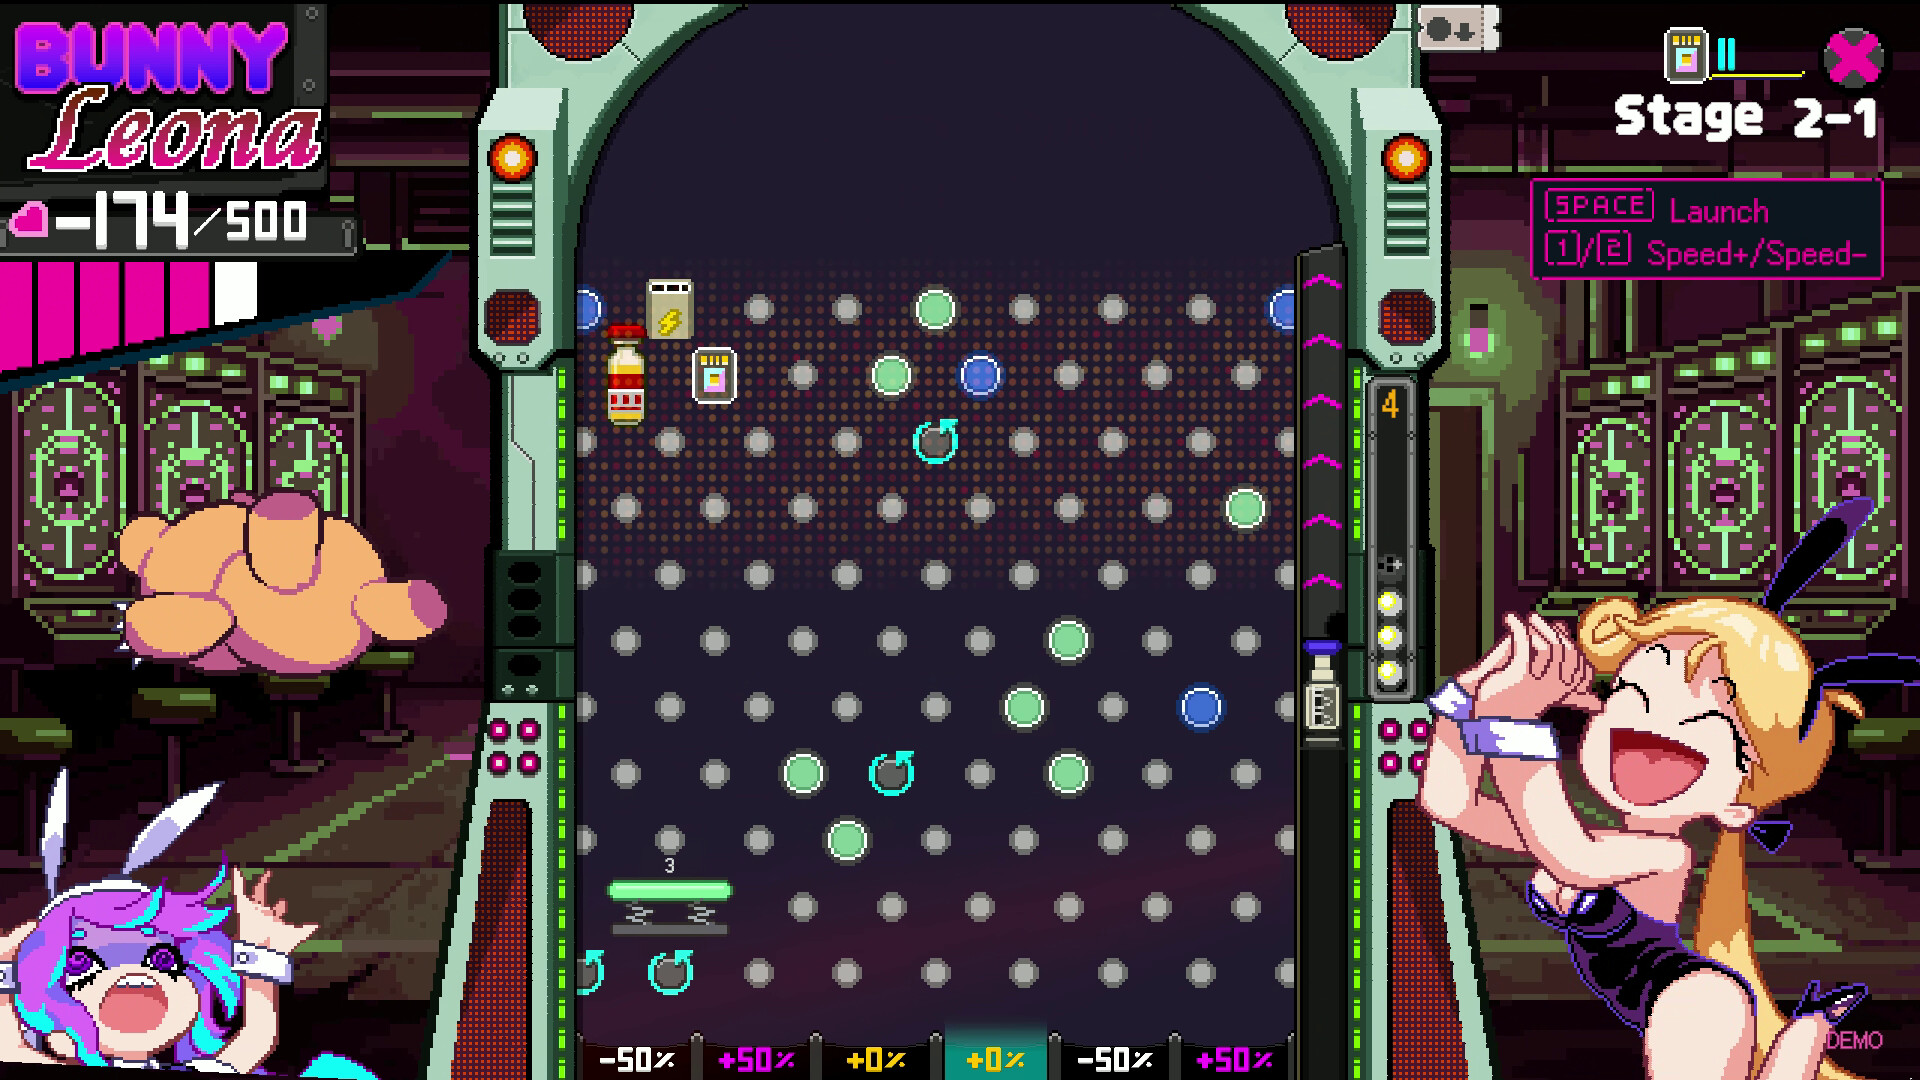
The score zones (bottom row). When a ball finally drops off the board, it lands in a score zone that multiplies the points it earned on the way down. This is where the drama lives:
| Zone | Multiplier | Notes |
|---|---|---|
| White zone | −50% | Cuts the ball's whole score in half. The #1 complaint in the demo. |
| Yellow zone | +0% | Neutral. The September 29 hotfix replaced one White zone with a Yellow zone. |
| Positive zones | +50% and up | The upside. Tickets can raise zone values further. |
What the hotfix changed
The demo shipped with multiple −50% White zones, and runs were ending on the first stage when balls drifted into them. The developers responded on September 29, 2026 with a targeted change:
- One White (−50%) zone was replaced with a Yellow (+0%) zone, reducing how often the penalty triggers.
- They listed but did not take the alternatives — lowering the penalty to −25%, or using a cleaner 0% / 50% / 100% spread — and said they are still watching feedback.
Surviving the bottom row, according to people who can
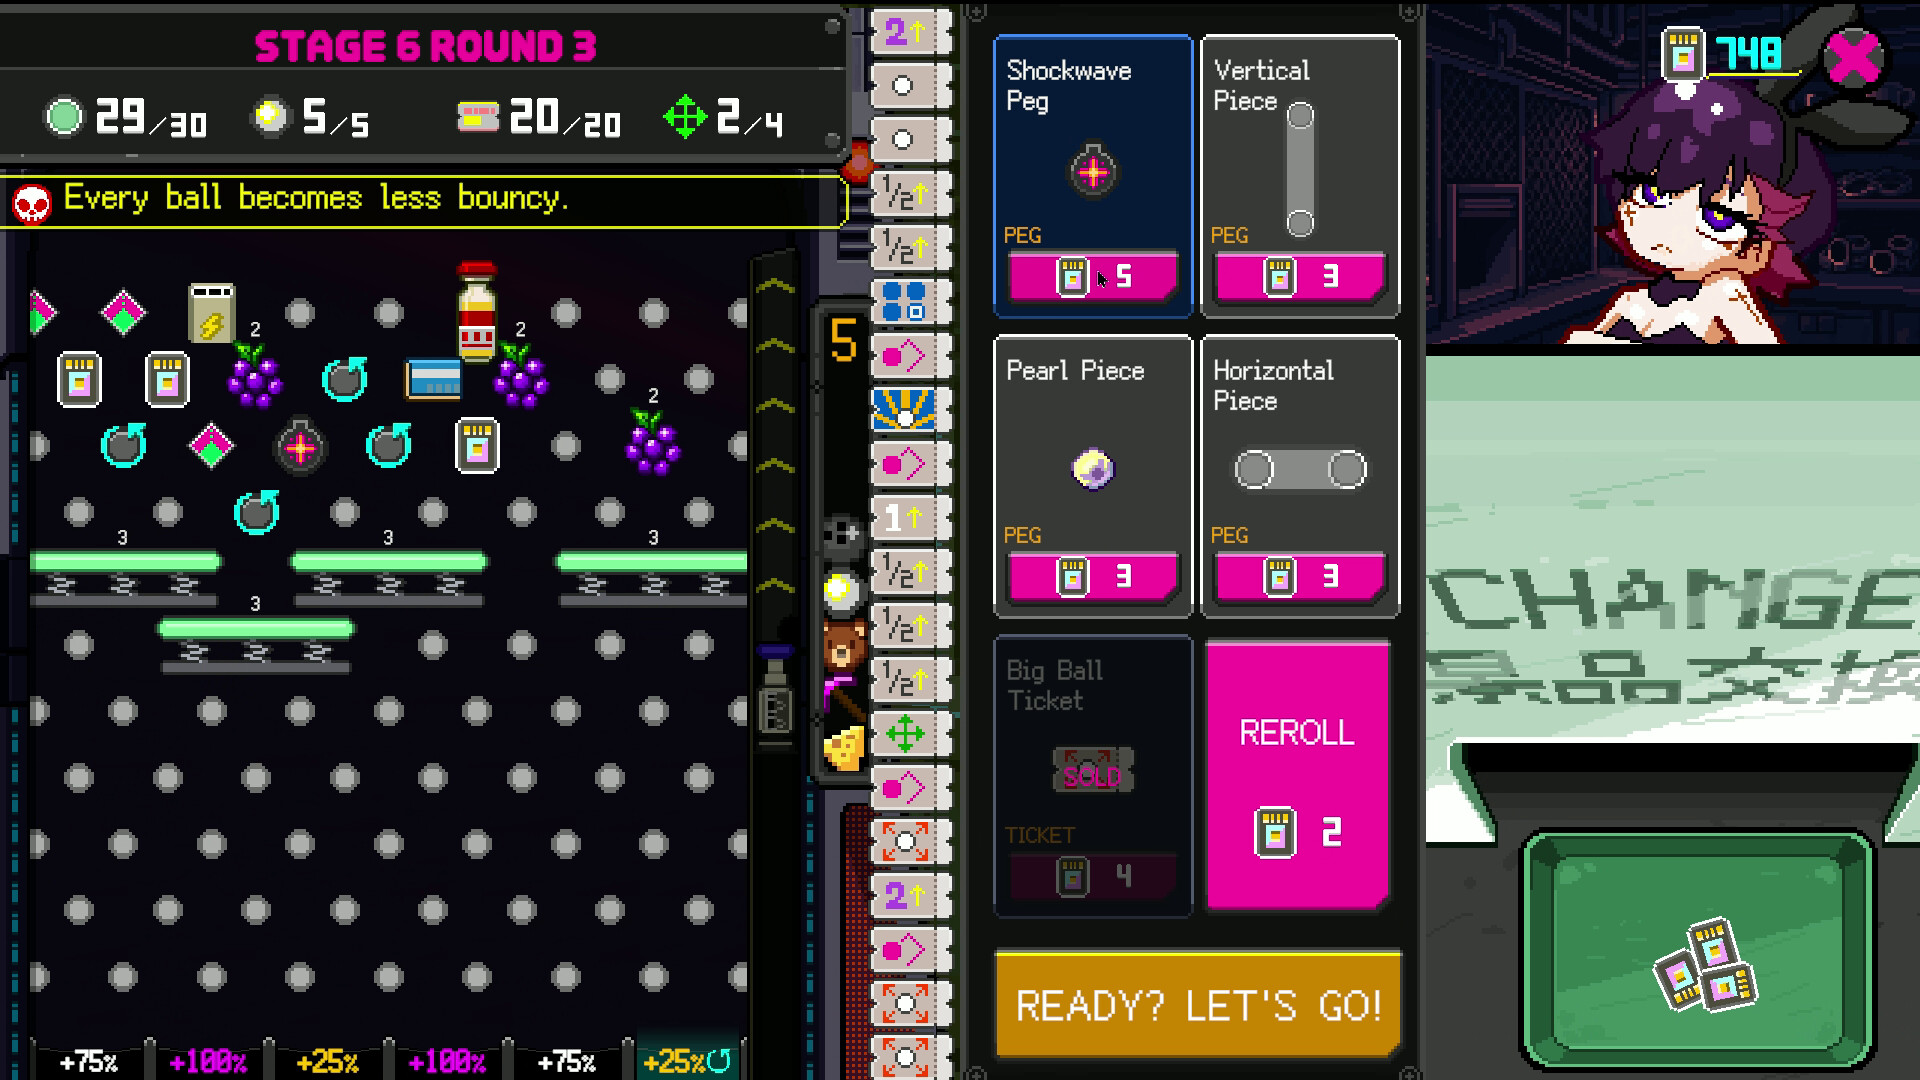
- Buy the zone tickets. The single most repeated advice in the −50% complaint threads: once you get shop tickets that raise score zone values, the White zones stop being run-enders. One player called it "a non-issue" after buying them; another noted that stacking enough zone upgrades makes losing "almost impossible".
- Protect your big balls. Save Bowling/Bitcoin balls for when a multiplier zone can eat them — losing a 100k drop to a −50% hurts ten times more than losing a small poke ball.
- Bank your safety margin before flexing. Meet the quota first, then send the flashy balls down the field.
- Ride the combo. Multipliers stack with combos — the community's 29M+ screenshots all show combo counters (×16 in one screenshot) doing the heavy lifting.
Bosses: the other quota
Stage ladders end in boss fights against rival bunny girls. The demo's headliner is Leona, who shows a 500 HP bar — you win by outscoring her damage race, and she has tricks like moving up to 3 of your random pieces each turn. One player described the demo as "making it as far as the third boss", so budget your best balls for boss rounds, not the stage before them.
Rewards math
The settlement screen tallies your payout in rows: REWARD, BALL, TICKET, INTEREST and a TOTAL (one screenshot shows TOTAL: 14 items). In practice that means every cleared stage converts into more resources — balls to drop, tickets to spend, and interest — which is exactly why the "can't farm past the goal" complaint exists: hitting the quota ends the stage on the spot.
Related pages
- Tickets & shop — the zone upgrades and utility buys
- Balls & builds — what to send into a multiplier zone
- Updates — every balance change, dated